The countertop dressed in ceramic was the first idea that came to my mind when the countertop and the shelves underneath for storing garden tools were made. What if the counter, the shelf in front of the workshop was dressed in ceramic mosaic. A workshop standing under the forest. Of course, inspiration comes from nature. Somehow dressing up a shelf in a fantasy ceramic mosaic. Trees depicted on ceramic tiles. I drew it all together on paper first. I had to find a shape that could also be used in ceramics. So the theme will be trees, and birds on them and under them. Then I had to cut the ceramics, shape the clay, fire the clay and finally assemble and lay the mosaic on the surface.

Cutting ceramics
So ceramic cutting. This means fitting ceramic tiles to a specific surface. I measure the shelf, I look at it, I cut the edges to make them round, I imagine how it would all look together. Then I draw the cut on paper. The shapes of the trees, the birds, their arrangement, what will be in between, what will be underneath, in short, all the lines, what the overall look will be, to create a fantasy ceramic mosaic. I draw it in the right size and add about five per cent in length and five per cent in height. That is the approximate difference between raw clay and fired clay. The figure has to fit the surface because I never cut the tiles. I will resolve other size nuances with joints between the tiles.
Clay moulding
The clay is then shaped. The best technique for these needs is clay rolling. So I roll out the clay to the appropriate size and thickness and cut it along the lines I have drawn. I curve the tiles that are on the edges. The edge of the counter will be fully dressed, the grout will only be on the flat part. I also make the curves on the sides. I use raw wood for the base. The clay dries well on it because the wood absorbs moisture. When the cut lines are slightly spaced apart, because the clay dries and shrinks, I start to work each individual tile. I cut the edges, smooth them with a sponge, scratch the back so they will stick to the substrate and, of course, mark them with a number. I also draw mosaics on paper, each piece with its own number. That way I can take the tiles apart to dry. In between the drying, I also drill in the pattern where I've imagined it. Those tiles that need to be straight, I weight with chamotte sheets so that they don't bend during the drying process. I dry the curved ones so that they keep their shape. It is only during the drying process that I can influence them so that they do not curve, they are left in the oven to the fire. This is the only way the countertop will be dressed in ceramic.


Firing clay
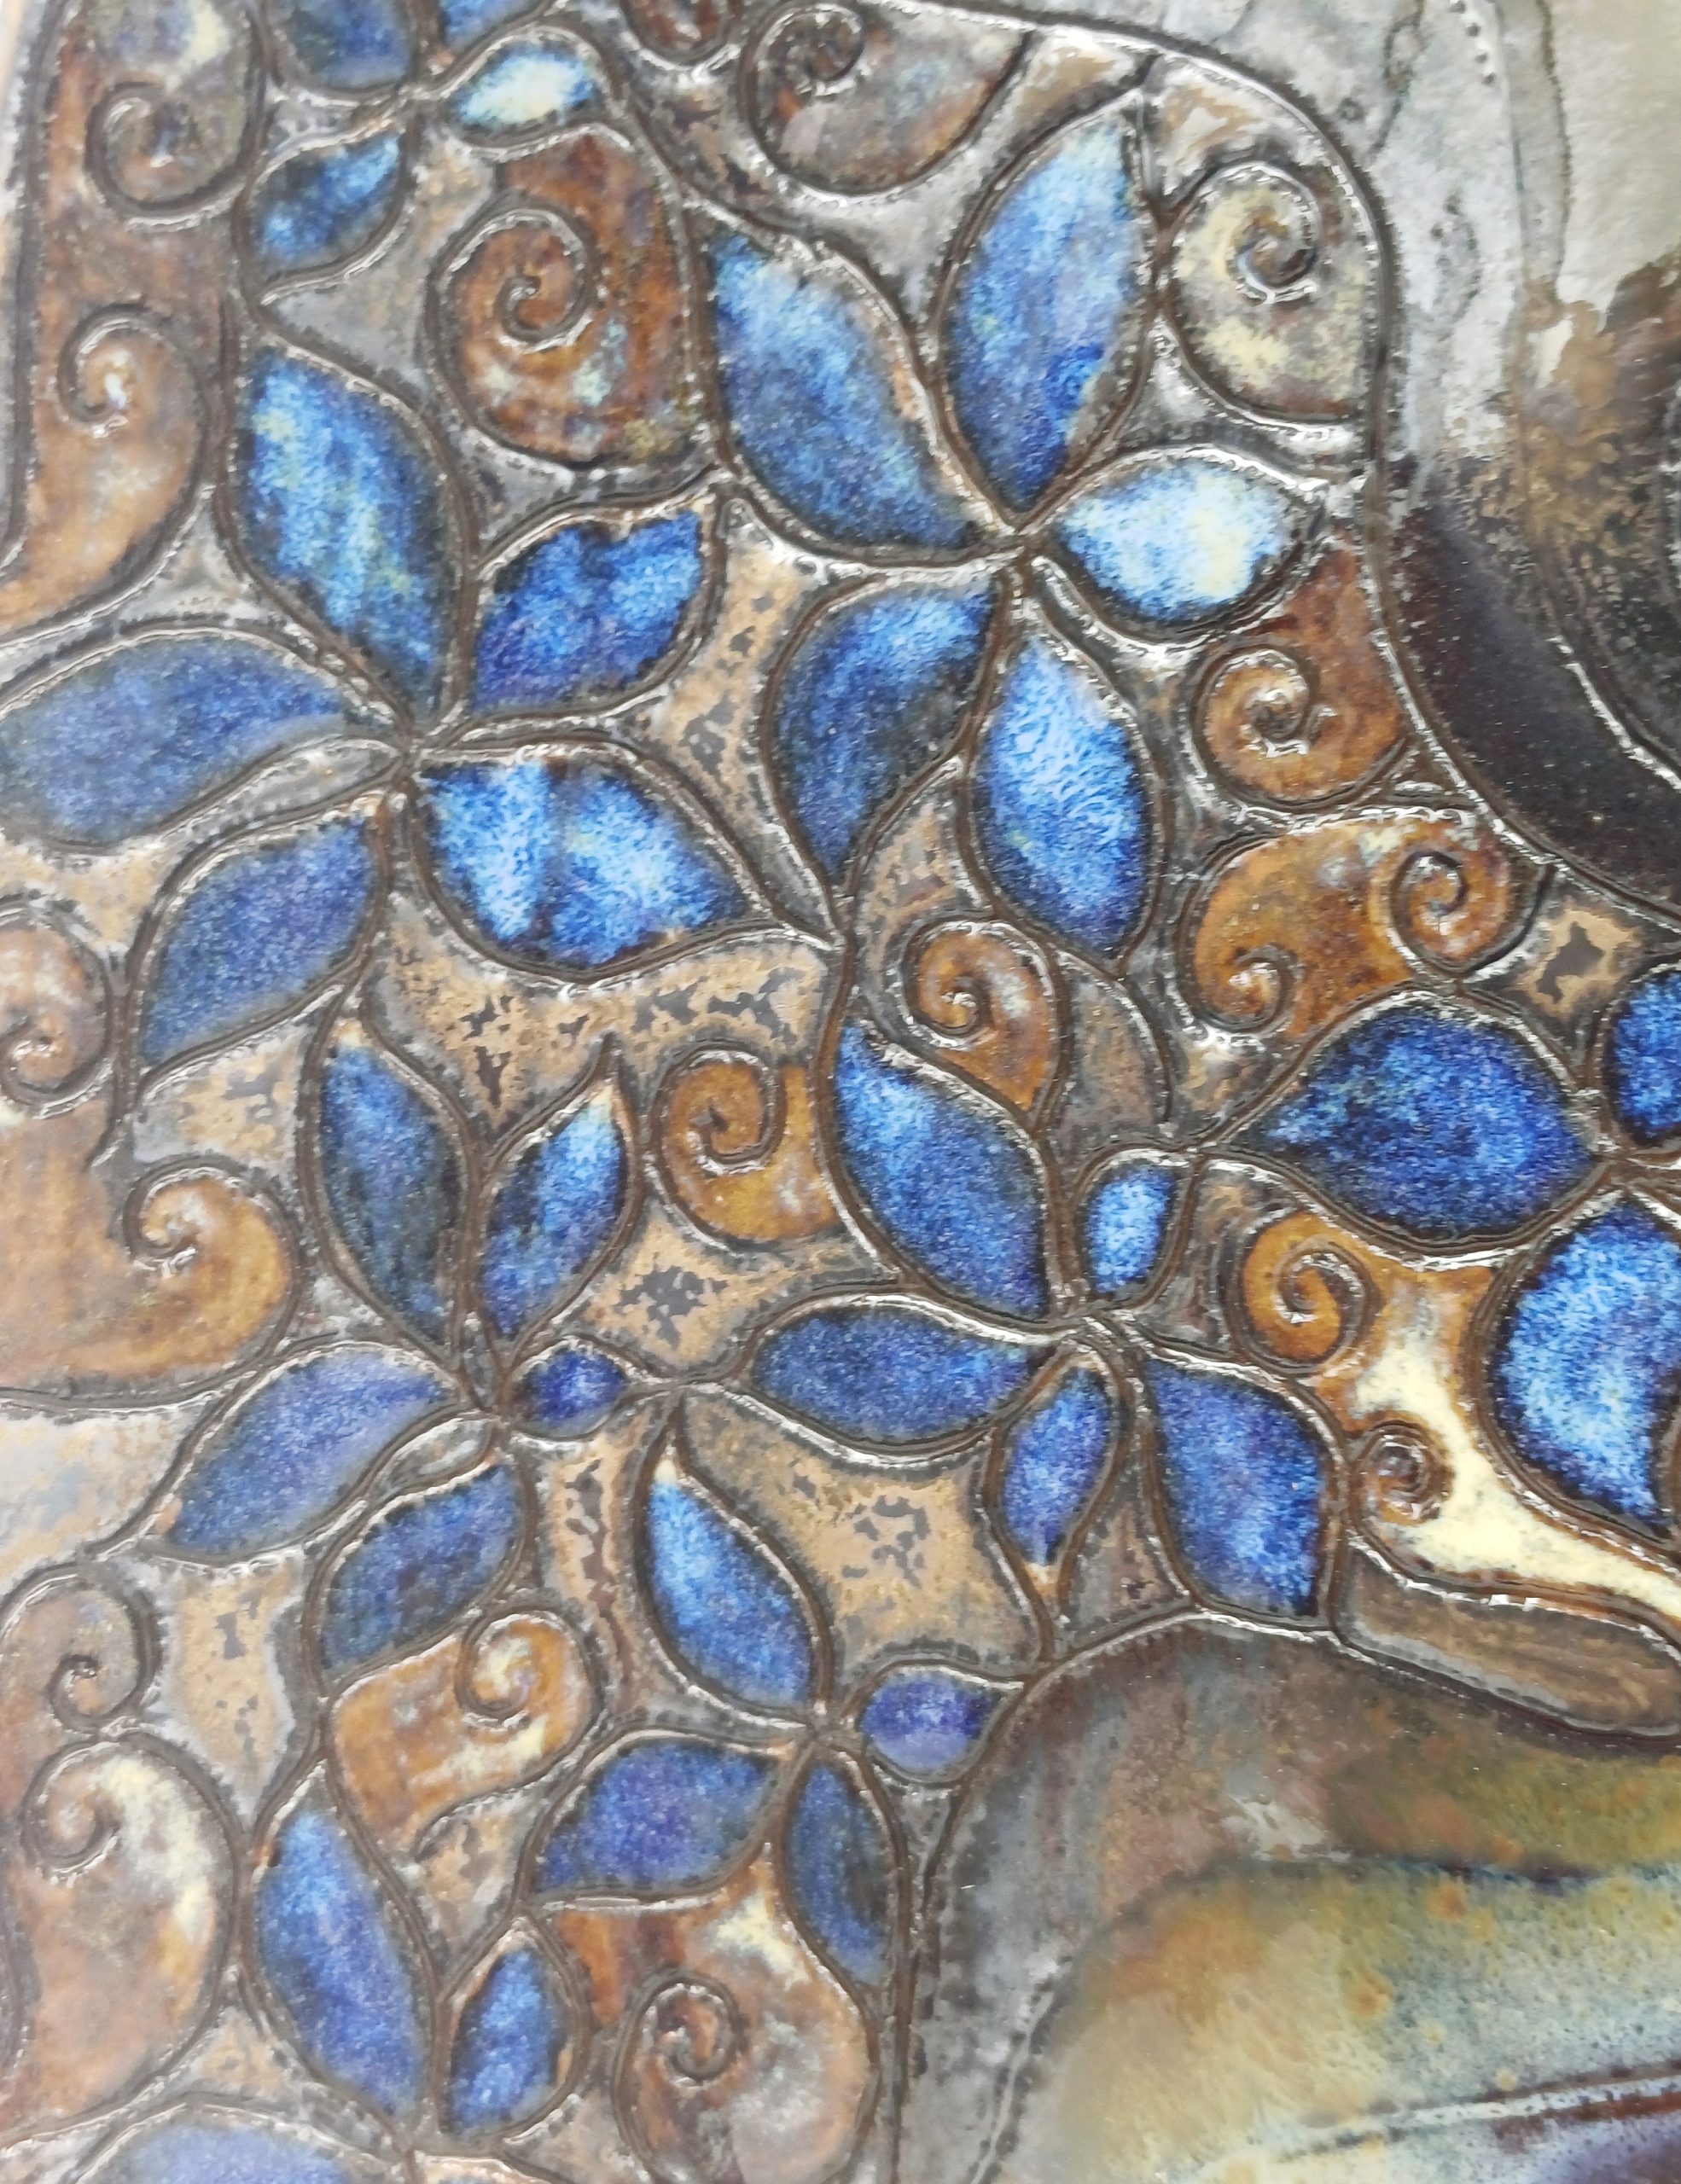
Firing of the clay follows drying. The clay must be completely dry before firing to avoid damaging both the product and the kiln. The first firing is done at 980°C. In ceramics, this is called biscuit firing. This is followed by painting. I decide how the birds, the trees and the base will be painted. I use different glazes for painting. Mostly I choose glazes that give different effects at different firing temperatures. But they also change because of different application techniques. So as a rule, I don't know exactly what will happen during the second firing. The effect of fire during firing is unpredictable. I paint the birds with a brush. I choose three colours for each one to get the desired effect. I spray the trees with two glazes to emphasise the lines I have drawn. I also use the same glazes for the edge to give the impression of the base from which the trees are growing. I fill in the spaces in between with a darker glaze, which I also spray over the tiles. I fire the tiles a second time at 1030°C. This way, the fantasy ceramic mosaic is left to the effect of the fire.

Assembling and laying a mosaic on a surface
The mosaic is assembled and laid on the surface according to the paper plan. I fix some of the assemblies to the masonry grid, leaving the details so that I can adjust the shape as I lay the tiles. This is followed by gluing to the substrate. It's a game between the surface and the tiles. As I mentioned before, the image has to be perfectly adapted to the substrate. I do not cut the tiles, they all have to match. I also call this dressing the surface in ceramic. After the glue has dried, the next step is to fill the spaces between the tiles with the mass specified for this purpose. This connects them into the whole that I have imagined.

So. The ceramic countertop is ready. The ceramics are cut to size. Everything is made by hand according to our own ideas and technical know-how.